Most kitchen knives are not ruined by sharpening. They are ruined by the wrong angle, by too much pressure, and by a honing rod used as a grinder. Two numbers settle almost every question: the angle you hold, and the grit you use. Get those right and a dull knife is a fifteen-minute job.
Honing is not sharpening
An edge is a very thin wedge. In normal use the tip of that wedge rolls over rather than wearing away, which is why a knife feels dull long before it has lost metal. Honing – a few light strokes on a rod or a ceramic stick – stands the rolled edge back up. It removes almost nothing and takes about fifteen seconds.
Sharpening grinds fresh metal to form a new wedge. That is a job for a stone or a service, and done properly it happens once or twice a year for a home cook. Confusing the two is the single most common way people shorten a knife’s life: a rod pressed hard does not realign anything, it chews the edge away unevenly.
The angle, by blade type
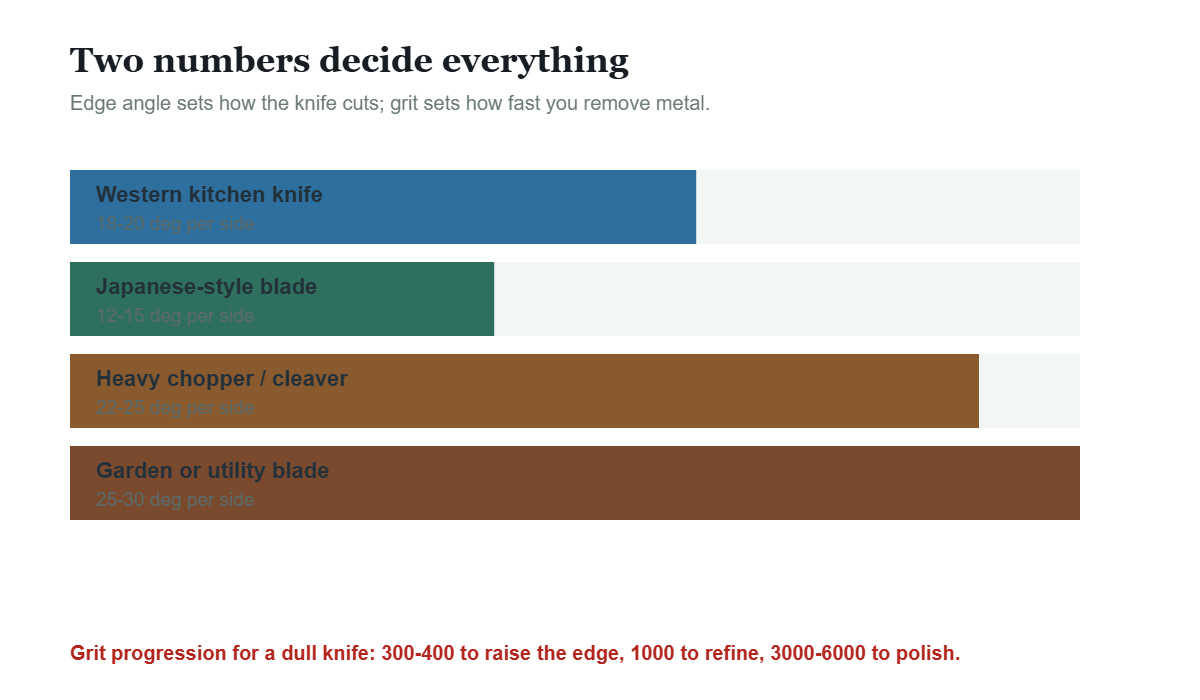
| Knife | Angle per side | Trade-off |
|---|---|---|
| Western kitchen knife | 18-20 degrees | The usual compromise between sharp and tough |
| Japanese-style blade | 12-15 degrees | Cuts beautifully; chips if you twist it |
| Cleaver or heavy chopper | 22-25 degrees | Survives bone and board contact |
| Utility or garden blade | 25-30 degrees | Blunt-ish but nearly indestructible |
Grit: what each stone does
Grit is the number of abrasive particles per unit area, so a lower number cuts faster and leaves a coarser edge. A three-stone progression covers everything a home kitchen needs.
| Grit | Purpose | How long |
|---|---|---|
| 300-400 | Remove metal, set a new edge on a genuinely dull or chipped blade | 5-10 minutes |
| 1000 | The working edge – this is where most knives should finish | 5 minutes |
| 3000-6000 | Polish and refine, for slicing and presentation | 2-3 minutes |
Water stones are usually soaked for 5 to 15 minutes before use; oil stones are used dry with a few drops of oil. Either way, keep the surface wet or lubricated while you work.
Doing it, step by step
1. Pick one side and count. Ten to twenty passes at the chosen angle, counting out loud, is enough to raise a burr – a fine ridge you can feel with a fingertip on the opposite side. That burr is your signal to swap sides, not a defect.
2. Keep the angle steady. The angle matters more than the pressure or the speed. A cheap trick is to stack a coin under the spine to set the height for the first few strokes, then hold that feel.
3. Use almost no pressure. The weight of your hand is plenty on a 1000-grit stone; pressing hard digs a groove and rounds the edge you are trying to build.
4. Alternate sides evenly. Equal passes each side keeps the edge centred. If you sharpen one side twice as much, the blade steers in the cut.
5. Finish, then test. Wipe the blade, then try a tomato or a sheet of paper. If it slips on a tomato skin, it is not done – not that the knife is bad.
What good steel does and does not fix
Hardness buys edge retention and costs toughness. A blade in the 58-62 HRC range will hold a fine edge for a long time, but it chips where a softer Western blade simply rolls – so it wants a slightly higher angle and less twisting. The best-maintained cheap knife will outperform a neglected expensive one, every time.
- Hone lightly before cooking; sharpen once or twice a year
- Hold a constant angle rather than pressing harder
- Cut on wood or plastic – never glass or stone
- Hand wash and dry; keep it out of the dishwasher
- Store it so the edge touches nothing harder than wood
Three things people believe about sharpening
A sharp knife is more dangerous. It is the opposite. A dull knife needs force, and force is what slips – off the onion, into a finger. A sharp blade goes where you point it with almost no pressure, which is why professional kitchens sharpen far more often than home cooks do.
You need an expensive set of stones. One 1000-grit water stone will keep a home kitchen\u2019s knives working indefinitely. A coarse stone is for rescuing chipped blades and a polishing stone is a luxury; buying all three before you have learned to hold one angle is how sharpening ends up in a drawer.
Once a year is enough for everyone. How long an edge lasts depends on what you cut on. A plastic or end-grain wooden board is kind to an edge; glass, ceramic and stone boards take a visible toll in weeks. If your knife lives on a glass board, expect to hone far more often and sharpen twice as frequently.
Frequently asked questions
Can I sharpen a serrated knife?
Not with a flat stone. Serrated blades are usually touched up with a tapered rod, one notch at a time – or sent to a professional.
How often should I sharpen?
Once or twice a year for a home kitchen that hones regularly. If you are sharpening monthly, the honing is being done too hard or the board is too hard.
Is a pull-through sharpener ever acceptable?
As a rescue tool on a cheap knife, yes. As a weekly habit, no – it removes a lot of metal and leaves a coarse edge.
Do I need an expensive stone?
No. A 1000-grit water stone is the workhorse; a coarse stone and a polishing stone are useful additions but not required to keep one knife sharp.
How do I know I have the angle right?
Feel for a burr on the opposite side after ten to twenty passes. If no burr appears, the angle is too shallow and you are polishing the side of the blade rather than the edge.
Is a glass or stone cutting board really that bad?
Yes – it is the fastest way to blunt a knife short of cutting on concrete. Plastic and end-grain wood give slightly under the edge, which is what preserves it.
Can I sharpen with sandpaper on a flat surface?
It works as an emergency method on a flat tile with wet-and-dry paper, but the angle is harder to hold and the paper clogs quickly. A single 1000-grit stone costs less than the knives it saves.
Related reading on this site
Two pieces that pair with this one: the numbers behind why edges and handles fail are in our guide to the five places kitchen tools fail, and the weight-versus-volume trap that ruins baking is in the kitchen measuring guide.
Gear referenced in this guide
Three knives from our own range that match the sections above – all carbon or stainless steel, and all better served by honing than by a pull-through. None of them is required.
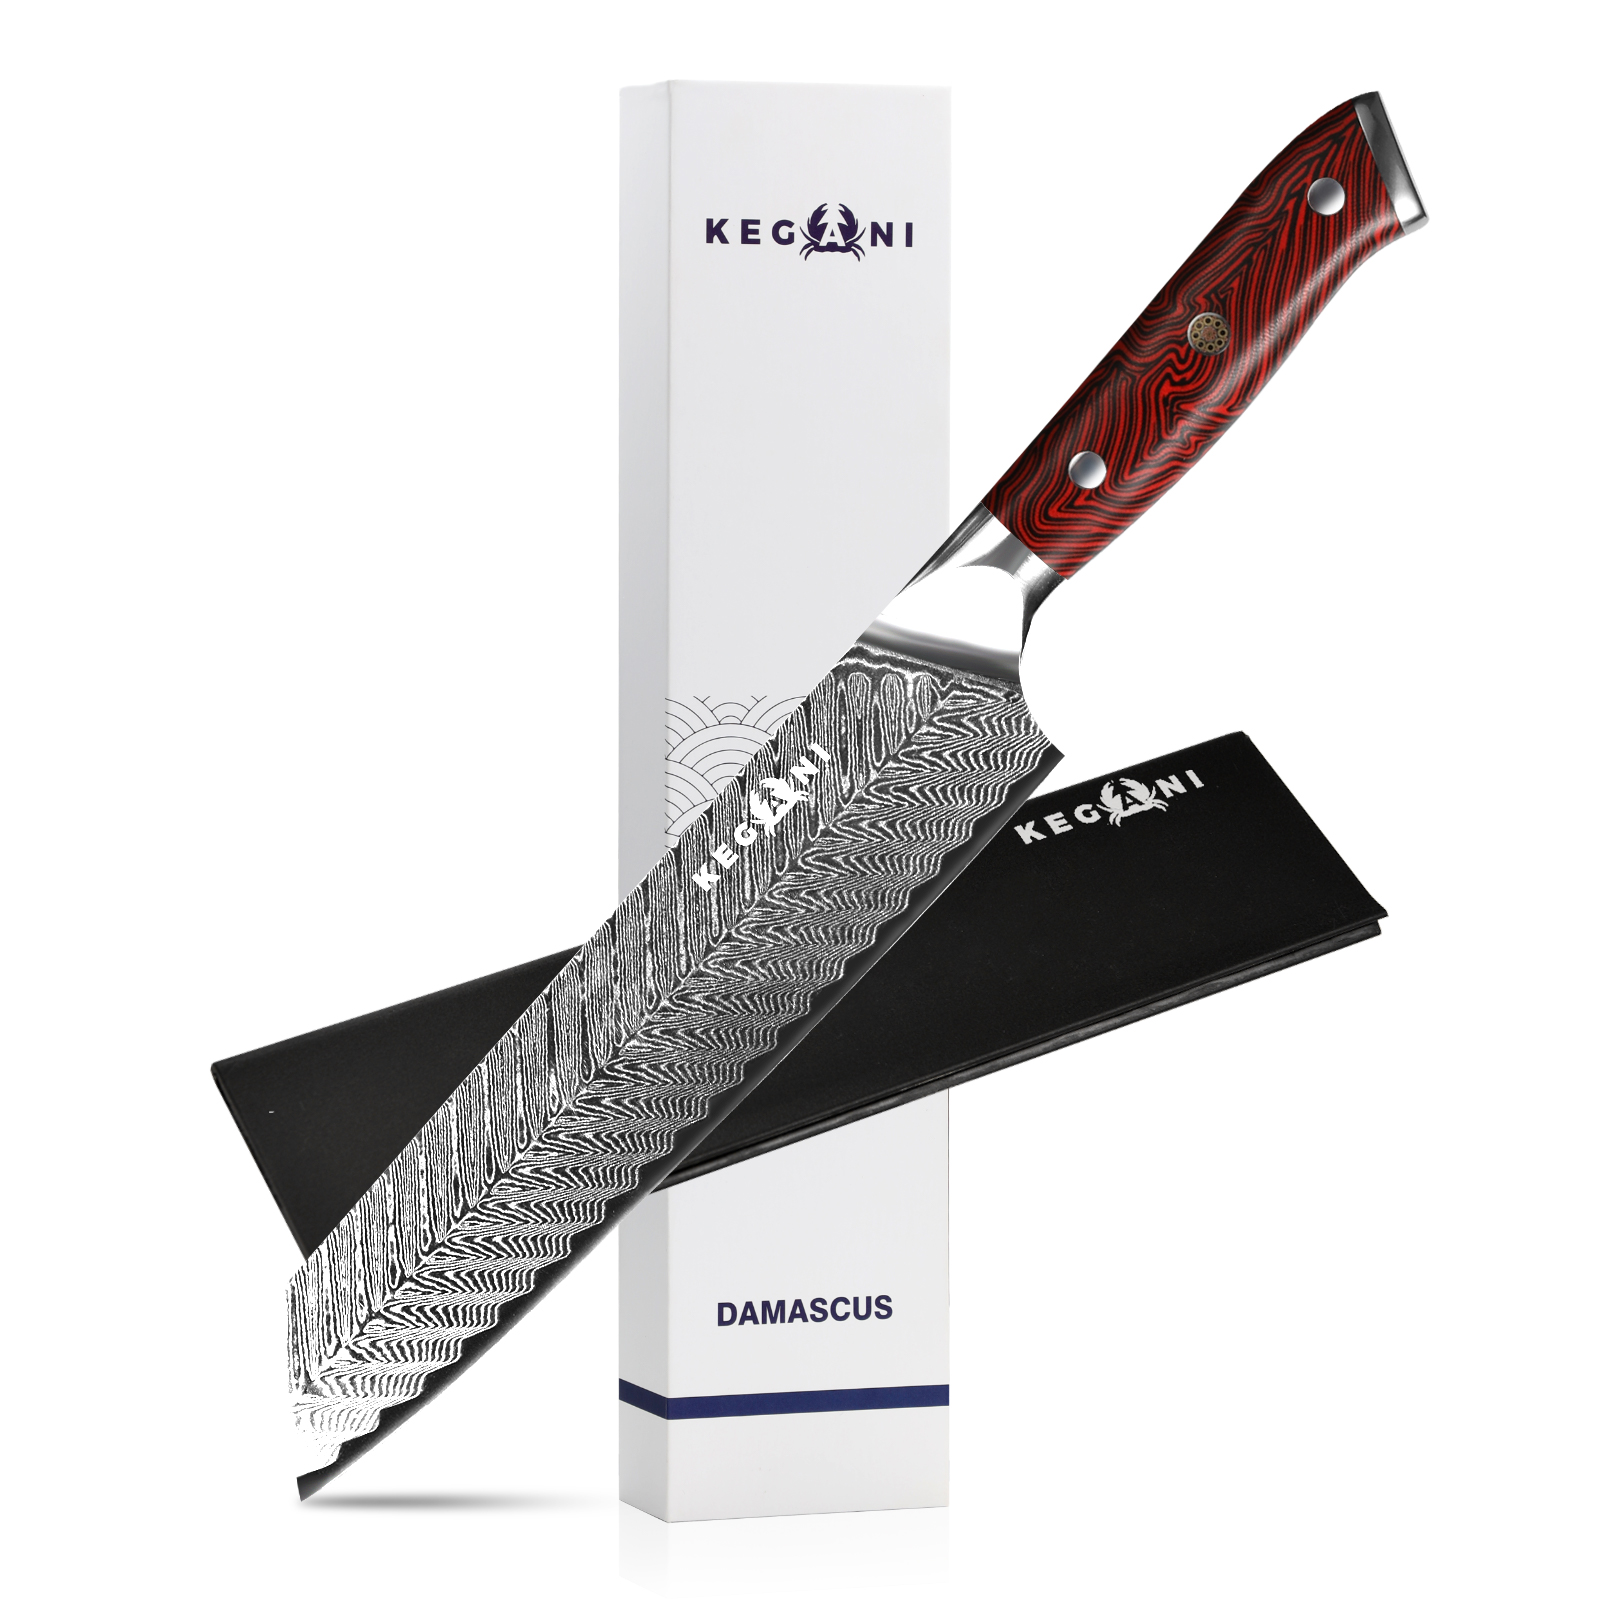 7 Inch Damascus Meat Cleaver, 73 Layers AUS-10 Steel Butcher Knife$102.99View product
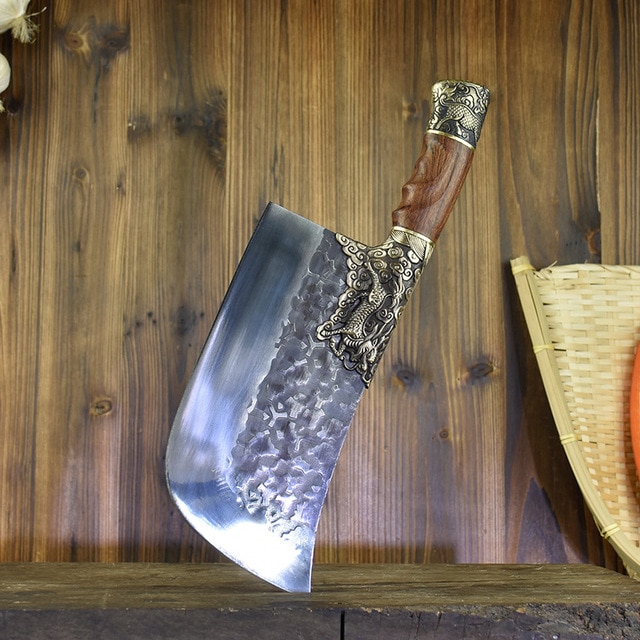 Hand-forged Bone Chopping Kitchen Knife, Dual-use Chef Knife$20.99View product
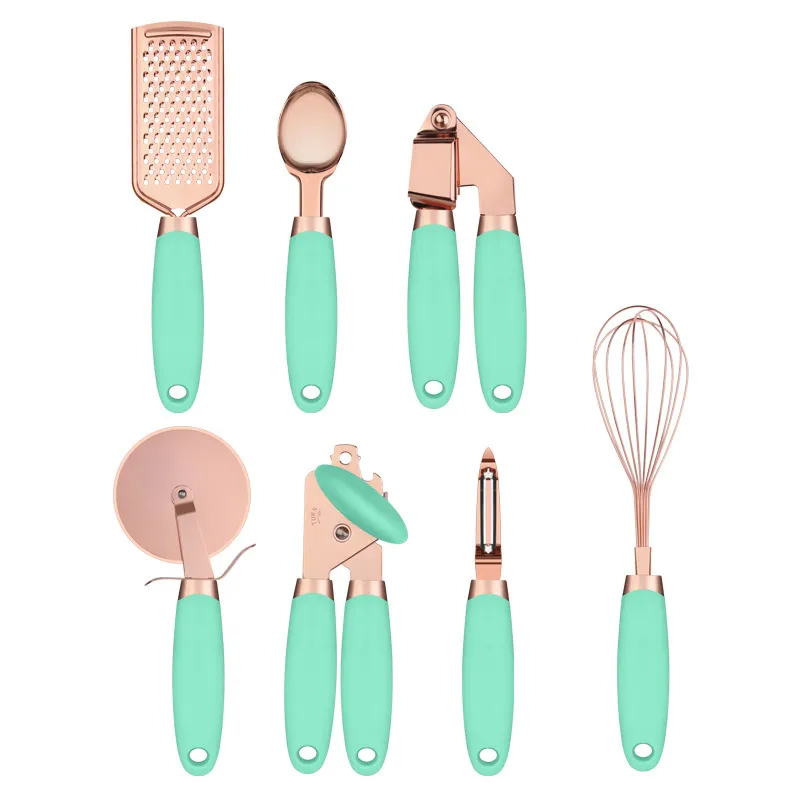 Kitchen Peeler and Gadget Set with Copper-Plated Handles$54.99View product
Written for ai-shoppers.com. Angles, grits and timings above are conventional figures for home sharpening rather than specifications of any single product; your steel and your cutting board will move them.
Compare on Amazon — this category usually has more brands, sizes and price points there.
Check current prices on Amazon →
As an Amazon Associate we earn from qualifying purchases. The price you pay is unchanged. Disclosure